2. Ubuntu Server Install
Installing and configuring Ubuntu Server.
Preliminary setup
- Static ip set for the rig on your router.
- Rig’s bios updated to the latest version (found this this to be helpful for an old computer).
- Have a USB drive, keyboard, monitor, and maybe mouse handy.
Installing to a removable media
Download the latest version of Ubuntu Server LTS.
Create an installation disk with the Ubuntu Server image. I recommend using balenaEtcher.
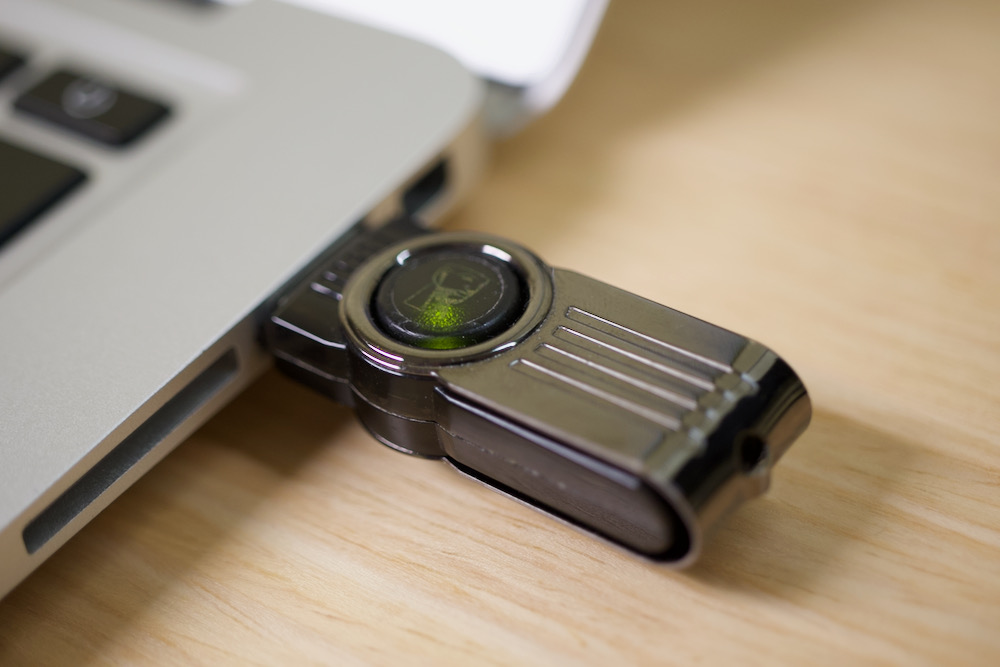
After it finishes, eject it out of your the computer, and plug it into your rig.
Installing to the rig
Turn on the rig, and boot into bootloader mode, usually f10 or f12 for a Dell motherboard. Select USB device, and boot from that.
The USB will check it’s integrity, which may take a few minutes.

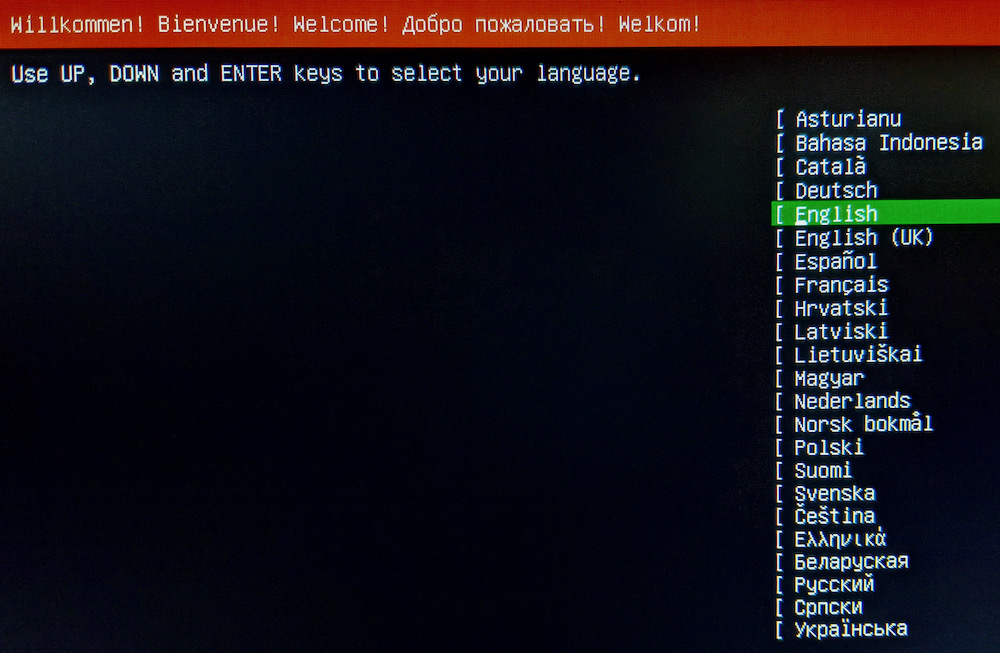
A series of menus will appear. Use the arrow keys and enter key to navigate.
Skip through the Network connections, Configure Proxy menus and Configure Ubuntu archive mirror by proceeding with enter. This will leave everything at default.
For the Guided storage configuration, unless you plan to do something else with your rig, leave the defaults and use the arrow keys to reach the Done button, pressing enter to proceed.
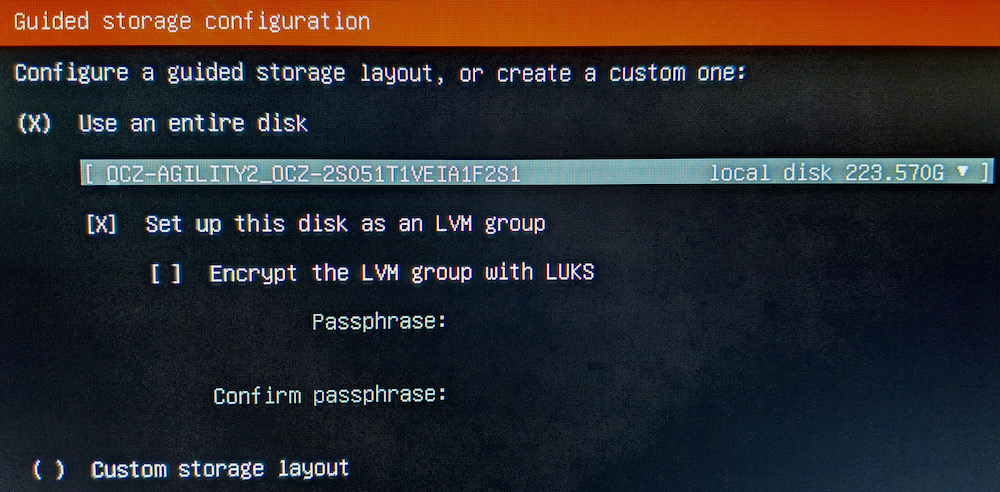
Skip through the Storage configuration menu. Select continue at the Confirm destructive action prompt.
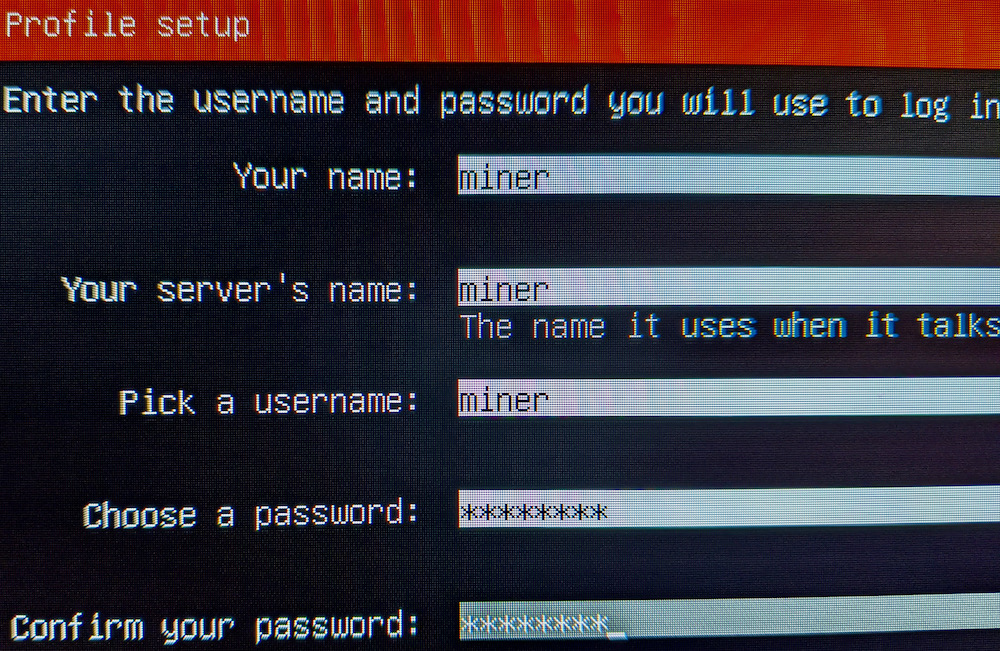
Next, set up the Profile setup. I just called mine miner for my name, server’s name, and username. Be sure to pick a secure password. Not the same one that you use for everything else.
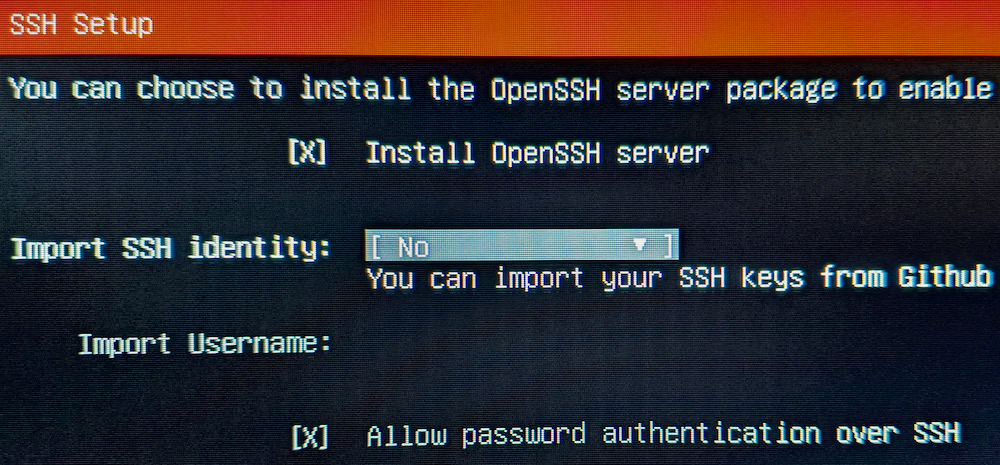
At the SSH Setup, make sure that the Install OpenSSH server is checked. Leave the rest at default. I don’t import my SSH identity.
Featured Server Snaps, leave all of these blank.
Finally, you will be greeted at the Installing system menu. It’ll take a while, typically 10-15 minutes on my rigs, so go on a walk, grab a cup of tea, or check out my photo gallery.
Press reboot now to finish the installation. It will give you a prompt in scary red letters: [FAILED] Failed unmounting /cdrom. Remove the flash drive, AND THE DISPLAY CABLE FROM THE GPU and press enter to reboot.

Give it a minute, or two, or three to set up everything. It is its first boot after all.
Now you can get rid of that pesky keyboard and monitor, and put the computer in a place to heat your house, or garage.